Follow the 7 steps below to correctly install the chain saw guide plate and chain:
1. Pull the front baffle of the chain saw back, make sure that the brake is in a released state.
2. Loosen and remove the two M8 nuts, and remove the right side cover of the chain saw.
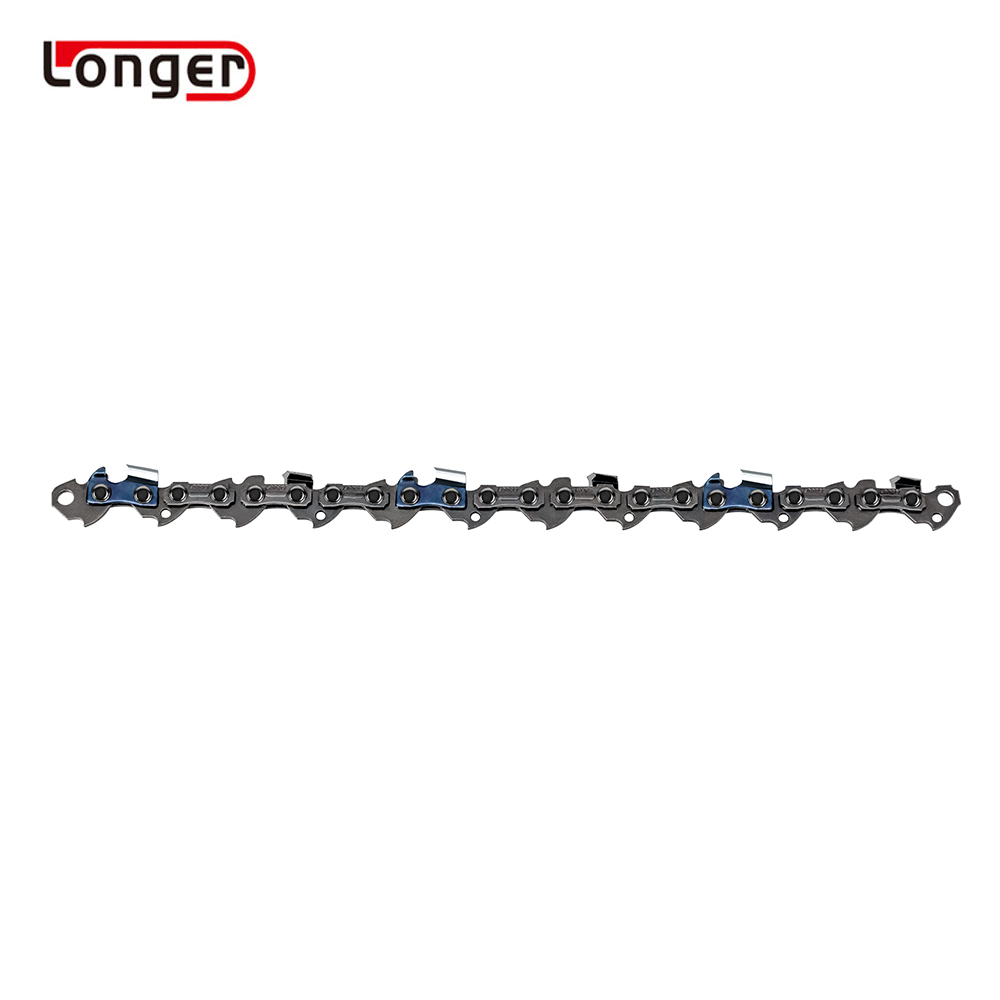
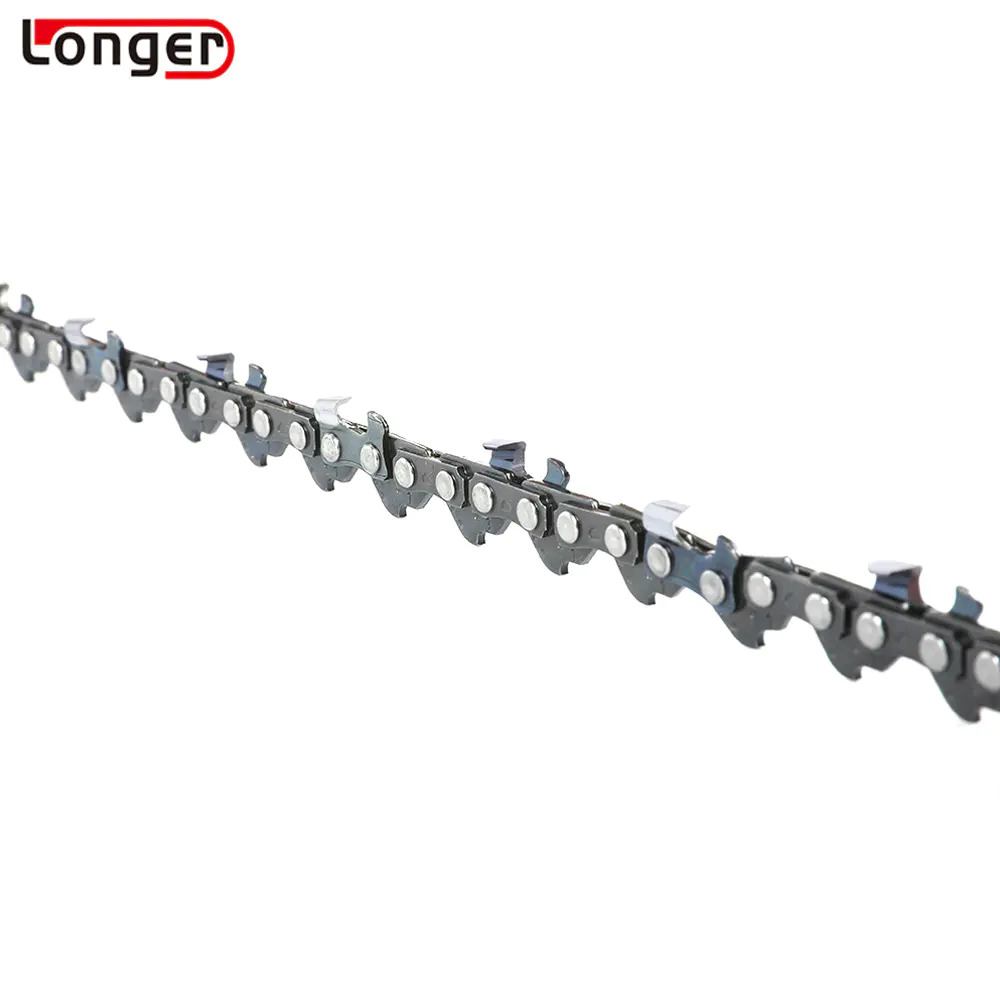
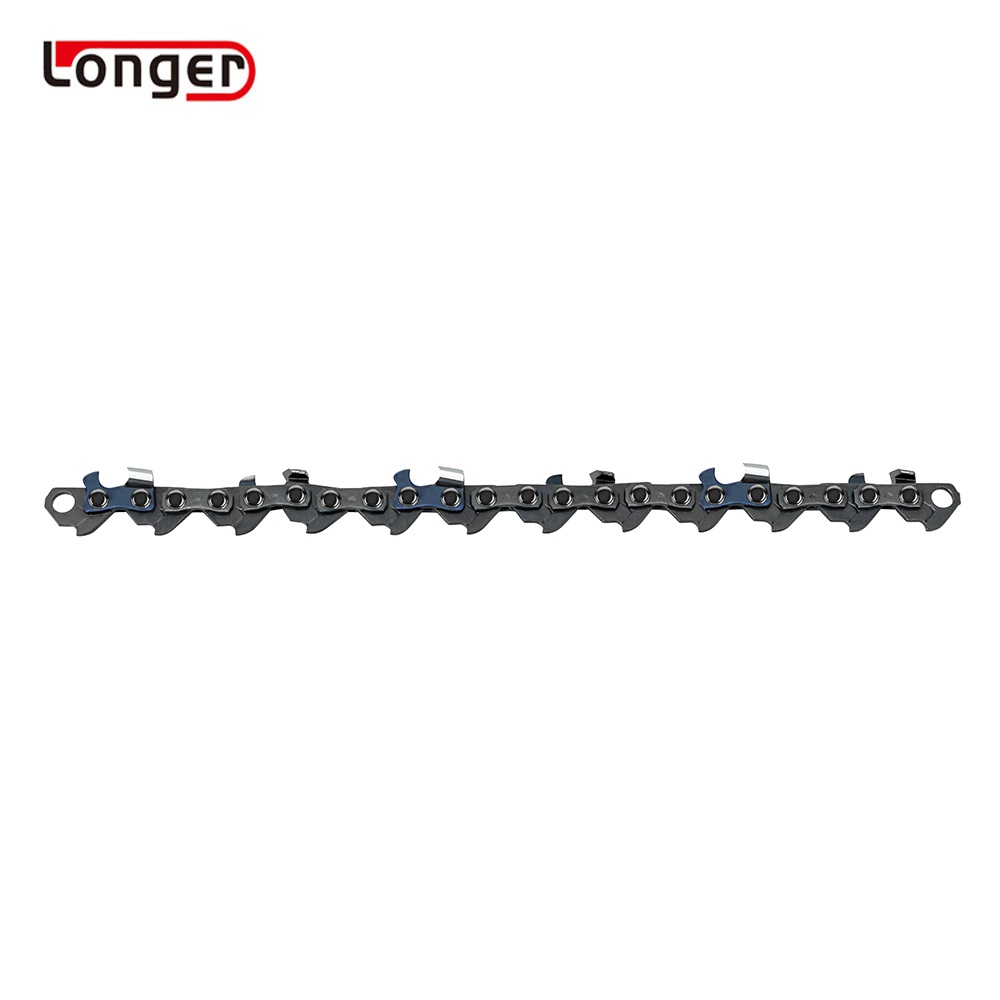
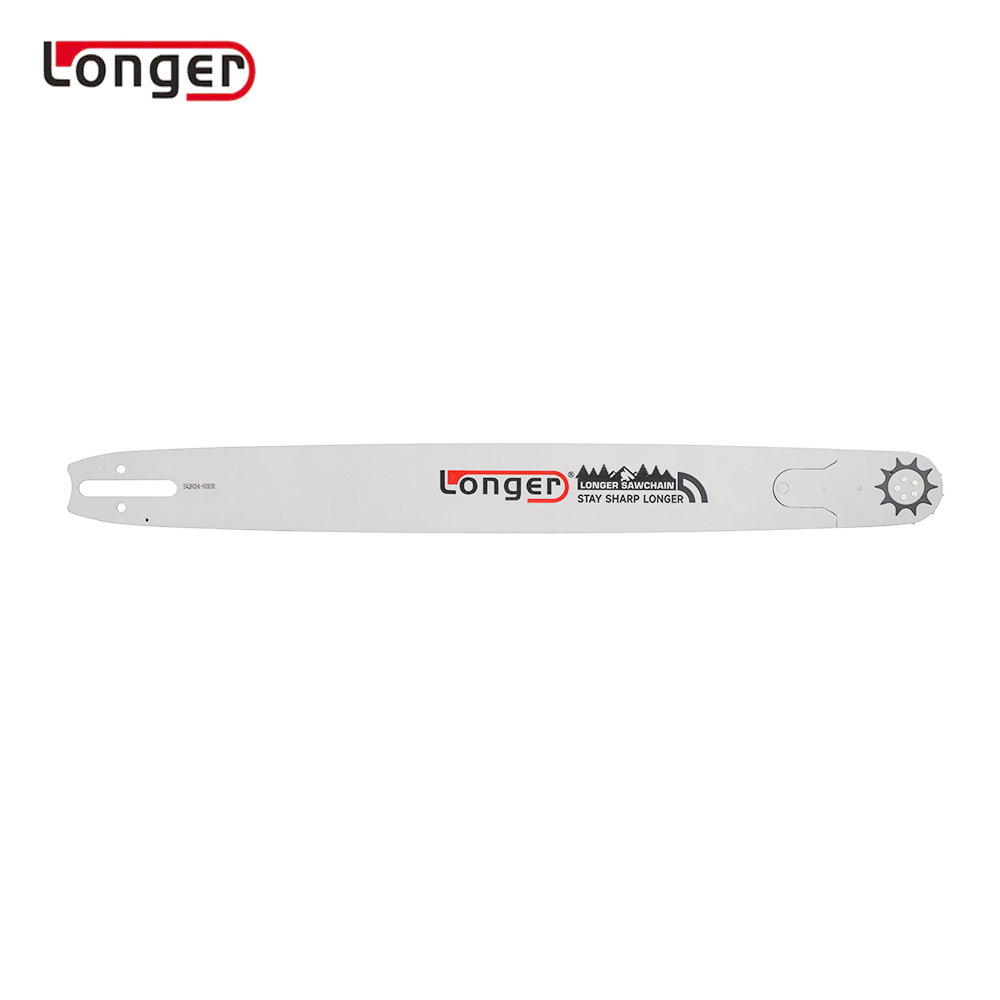
3. First install the chain saw guide plate on the main machine, then install the chain of the chain saw on the sprocket and the guide groove of the guide plate, and pay attention to the direction of the chain saw teeth.
4. Properly adjust the tension screw located on the outside of the right side cover, refer to the blue line above, and align the tension pin with the pin hole of the guide plate.
5. Install the right side cover of the chain saw to the host, and also refer to the blue line, insert the front baffle pin into the pin hole of the box, and then slightly tighten the two M8 nuts.
6. Lift the guide plate with the left hand, use the screwdriver with the right hand to turn the tension screw to the right, adjust the tightness of the chain appropriately, and check the tension of the chain by hand. When the hand strength reaches 15-20N, the standard distance between the chain and the guide plate is about 2mm.
7. Finally tighten the two M8 nuts, and then use both hands (wear gloves) to turn the chain to check that the chain transmission is smooth and the adjustment is complete; if it is not smooth, check the cause first, and then re-adjust according to the above sequence; Chain

.jpg)